
There are few things better than waking up to a breathtaking vista and knowing that you’ve escaped the hustle and bustle of your daily grind. However, all of this awesomeness crumble apart if you left something rather important behind – a coffee maker. Camping without caffeine is the type of mistake that you only make once. In order to avoid this problem, here’s how to make coffee when camping out in the woods!
Our campground coffee hacks are not ranked in order of quality of coffee produced. Instead, they are ranked in order of ease of use and convenience.
Take a moment and consider your unique situation. Every camping adventure is different, and it’s important to figure out what will work best for you and your group. Let’s dive in and explore how to make coffee when camping!
The 10 Best Camp Coffee Brewing Methods
1.) Collapsible Pour-Over Coffee Maker
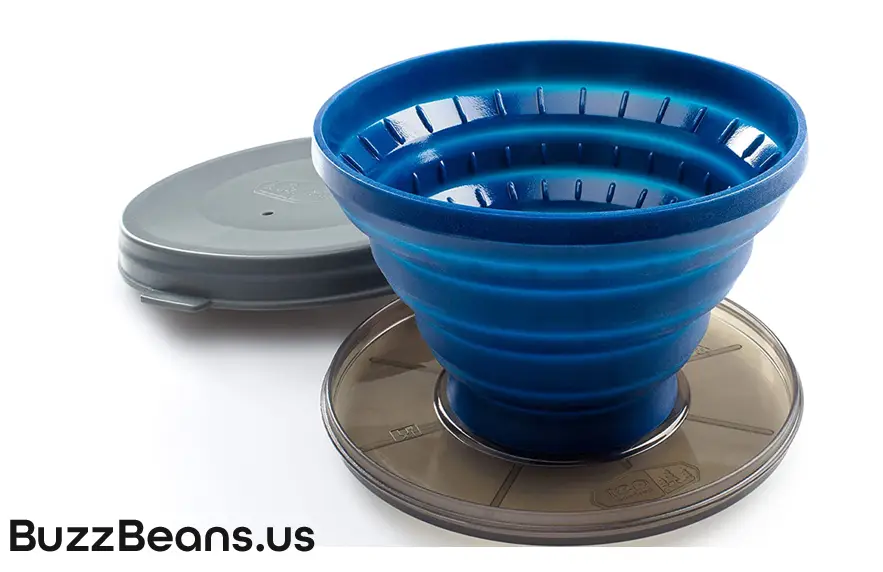
The timeless collapsible pour-over is a sound option for anyone who loves to make pour-over coffee at home. The experience is essentially identical and the tool takes up very little space and weighs next to nothing.
You need to open the silicone model and place a filter with grounds inside. Then you’ll need to find a way to boil water using some other piece of camping gear. Once your water is boiling, you simply need to pour the hot water over your grounds, just like you would at home. Remember to drop a dash of water over your coffee first and let it “bloom.” After your coffee blooms, proceed to pour in a steady stream and make sure all the grounds receive an equal amount of water to ensure equal extraction. When you’re done, just lift your filter out of the pour-over, give it a gentle rinse, let it dry, and fold it up for storage.
You can order a collapsible pour-over coffee maker via Amazon for less than $15.
Pros
- Lightweight (5.76 oz)
- Fast and easy to clean up
Cons
- Need to find a way to boil water
- Requires use of coffee filters
2.) Pour-Over Travel Mug

Next up is the pour-over travel mug method. These mugs combine many of the awesome features of a simple pour-over into one. However, they’re more expensive and less portable.
Like the base pour-over option, you still need to boil your water, but you’ll just pour water over your coffee grounds. If you’re feeling resourceful, look for a model with a built-in filter. Some mugs have a steel mesh filter, so you don’t need to bring any filters with you or deal with used ones.
An added bonus here is that travel mugs will retain heat and keep your java nice and hot. The same mug can also be used for any hot beverage, or even as a container for your tasty outdoorsy stews.
You can buy a pour-over travel mug on Amazon for $25.
Pros
- No need to bring disposable filters
- A multi-purpose mug can be used for more than just coffee
Cons
- Multi-purpose mugs are a bit heavier (10.2 ounces)
- You need to clean the metal filter
3.) Submersible Filter
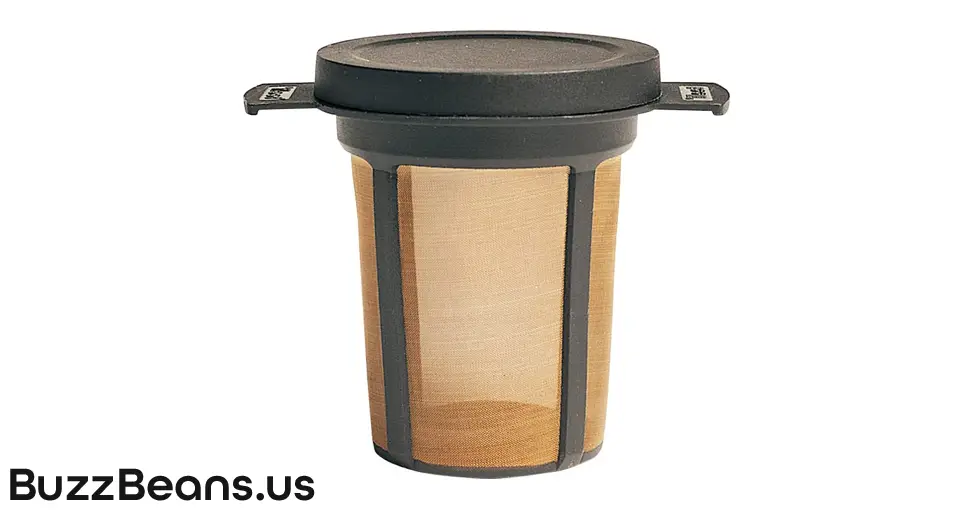
Our next recommendation is the submersible filter method. Making coffee this way is as simple as letting your coffee grounds steep in hot water and making sure you don’t drink any of the grounds.
Submersible filters are great because they’re really light and they’re also great for brewing tea. As with the previous options, you still need to boil your water some other way. However, once you have hot water, you simply place a filter full of grounds into your mug and pour in your hot water.
Make sure you wait a couple of minutes so everything extracts, and then remove the filter and sip away. Make sure you empty any ground from your filter after you’re done enjoying your coffee and rinse away any leftover coffee.
You can purchase a submersible filter here on Amazon for $20.
Pros
- Super lightweight (1.76 ounces)
- No filter required
Cons
- Relatively bulky
4.) Coffee Sock
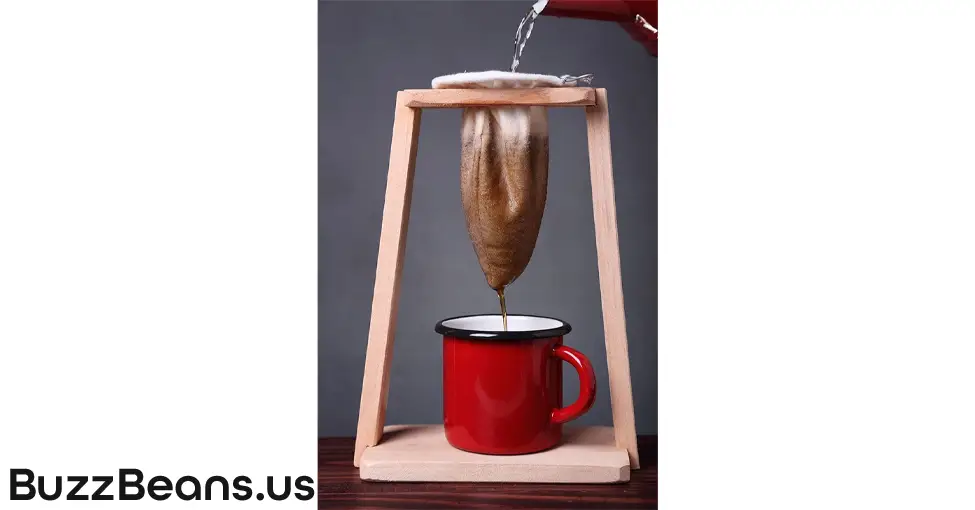
Next up we have an awesome, albeit goofy method – the coffee sock. While an actual sock would likely do just fine, it’s best to splurge on one of the many socks designed specifically for this purpose.
The mechanics of this method are similar to that of the previous technique. Simply fill the sock with coffee grounds and lower it into a cup of hot water. Let it all steep for a couple of minutes, remove the sock and enjoy a cup of freshly brewed coffee.
You’ll get a few weird looks and endure a few laughs when you pull out your coffee sock. However, everyone will be impressed by how easy it is to make coffee when camping with a coffee sock.
One snag in the process though is clean up. As opposed to the submersible filter, a coffee sock requires a bit more attention. The easiest way is to turn the cloth inside out and rinse the coffee grounds off that way. Your sock will definitely stain with time but think of the discoloration as simply a record of fun times.
You can purchase your coffee sock here on Amazon for $14.
Pros
- Very lightweight (1.44 ounces)
- No filter needed
Cons
- Difficult to clean
5.) Camping Pour Over
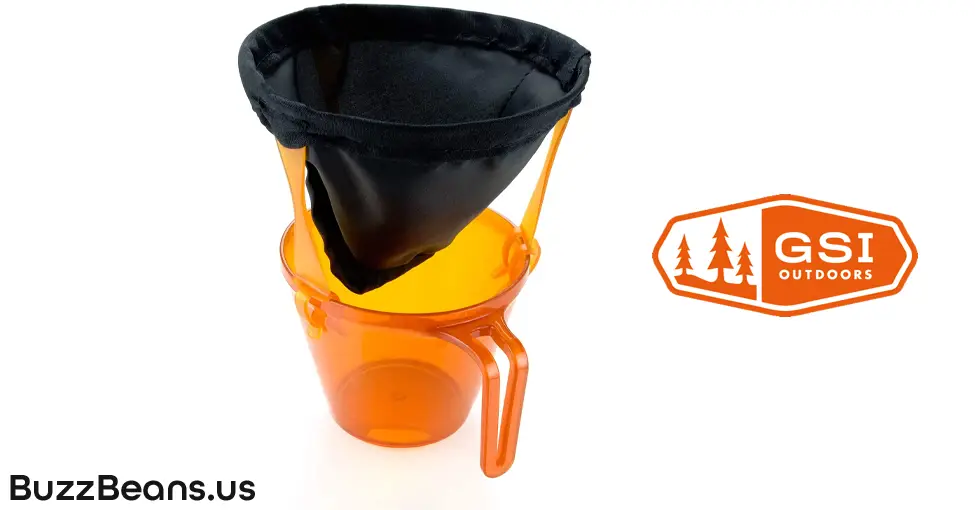
When you make coffee with a pour-over setup, there’s more than just the collapsing variety we discussed earlier. There’s an array of pour-over contraptions designed specifically for outdoor use. We highly recommend looking into options other than the collapsible variety. Heck, you may even find one that you prefer more – to each their own! Pour-over setups are great options for anyone who prefers to have a fancier coffee arrangement at the start of their day.
The Buzz Beans team especially likes the model featured above by GSI Outdoors ($10.35 on Amazon) because of the extended legs that hold the filter well above your cup. All you do is fold the legs out and clip them onto your favorite cup. This model should fit most cups. Before you start to brew your coffee, you’ll want to ensure that everything is sturdy.
This model from GSI Outdoors includes a fabric filter, so you don’t need to worry about paper filters. Furthermore, it folds up nicely and can be stashed away in a crowded rucksack.
Pros
- Lightweight (3.2 ounces)
- Filter included
Cons
- Not the most stable option structurally
6.) French Press
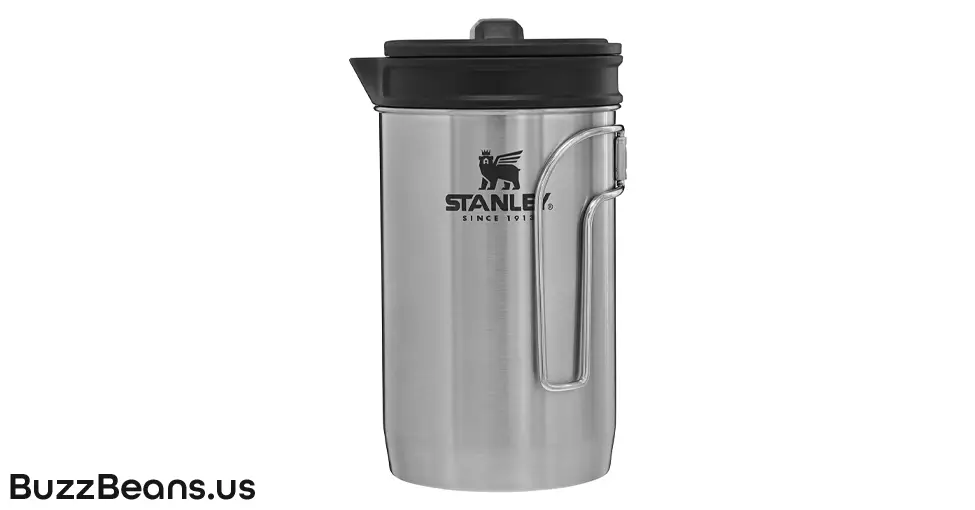
For all of you whacky French press junkies out there, you can rest assured that it’s possible to take your favorite brewing methods into the wild.
Many of the French press models can do more than just make coffee. For instance, some models allow you to boil water, which is a huge bonus for cooking in general. A French press option definitely means that you’ll be lugging around a heavier and bulkier contraption, but you can justify the extra weight with the multi-functionality.
One major benefit is that you do not need to deal with any filters. Furthermore, cleanup is a breeze – simply dump the grounds out and give the container a quick rinse with clean water.
A French press definitely ups the classiness factor of making coffee when camping. However, it most certainly decreases the rugged outdoorsy factor.
The rugged Stanley French press featured in the image above is available on Amazon for $26.00.
Pros
- Multifunctional: use it to boil water, cook food, and of course, brew coffee
- Makes more than one serving at a time
Cons
- Wicked bulky and heavy (10.1 ounces)
7.) Percolator
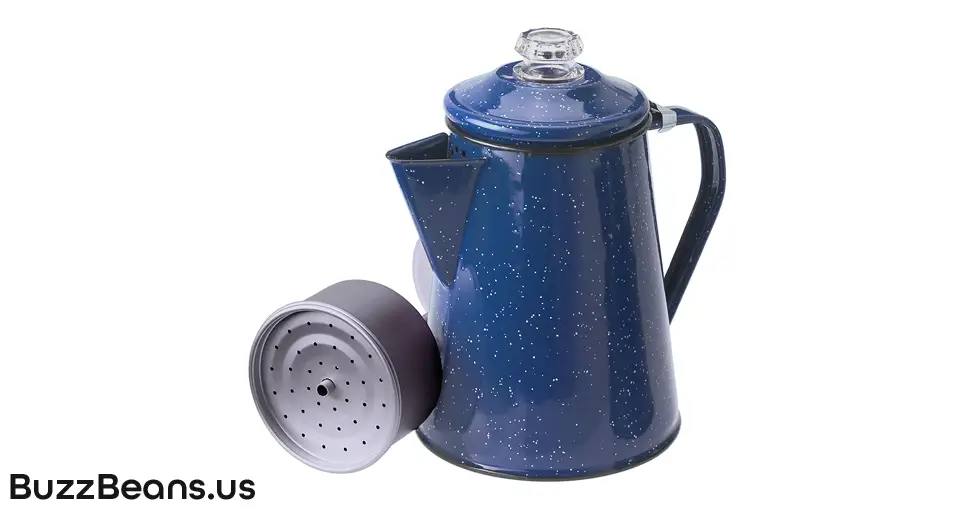
The next method on our list is more in line with what you likely associate with traditional Western movies. Percolators are a great way to brew something stronger than just drip coffee. These devices produce a treat that’s similar to espresso and a close cousin to drip coffee. In short, this brew will definitely perk you up in the morning.
While percolators pack quite a punch, they’re difficult to pack. Furthermore, unlike the French press option, they only serve one function.
This process will be rather familiar for anyone who enjoys a hearty percolator at home. Here’s the skinny for those who are less than familiar with percolators. First, you’ll fill the bottom chamber with water, and then pack coffee grounds into the middle basket. You then place the basket on top of the water and screw the top chamber on top of everything. Once everything is sealed nice and tight, you place it over an open flame (or even hot coals). The water from the bottom is then forced up through the coffee grounds and the coffee will then begin to fill the upper chamber.
While the process is relatively complicated at first glance, one thing that is most certainly simple – no filters are necessary. Lastly, percolators are also more difficult to clean than most of our other methods.
Pros
- Timeless look and feel
- Wicked strong coffee
Cons
- Bulky and heavy (12 ounces)
- Challenging to clean
8.) Brew Bags
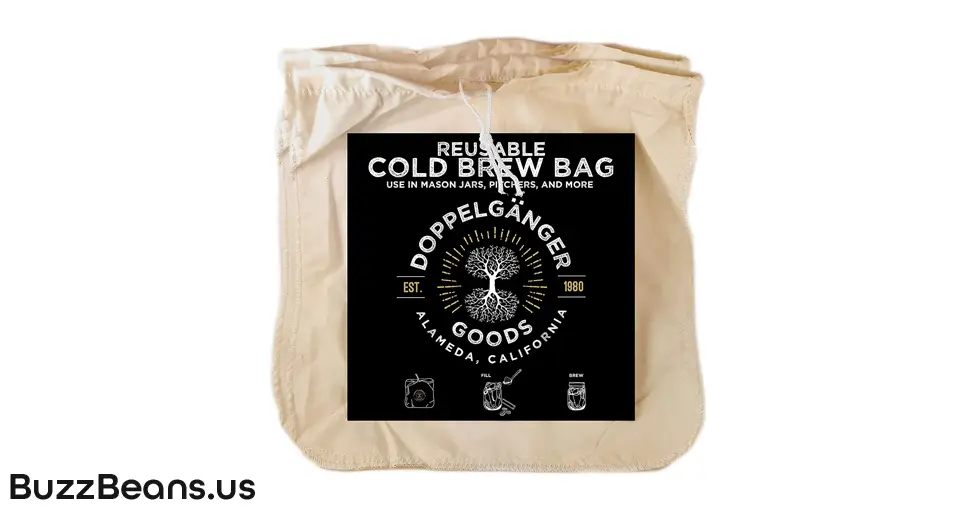
Next up we have a totally different approach: a method to cold brew coffee. This is an awesome option for summer trips when there’s a good chance you’re sweating soon after waking up. This is also a wise option for those who wish to drink coffee throughout the day – Mmmmm, nothing beats a Nalgene jug of chilled cold brew coffee while on the trail.
You can easily whip up some cold brew using a handy brew bag. However, this process is anything but fast. These bags can be filled and set to steep overnight. If you’re feeling particularly adventurous, you can even toss one (or two) into your water bladder and steep while you hike. Heck, you’re going to be carrying water while you hike, so why not make some of it into coffee while you’re at it – two birds, one stone?
These bags are a great option since they’re wicked light and easy to pack. However, they’re really only a good choice if you’re able to set aside a minimum of five hours to brew the coffee.
You can snag a pair of cold brew bags on Amazon for $8.98.
Pros
- Wicked lightweight (0.48 ounces)
- Easy to pack and clean
Cons
- Extended brewing time (5+ hours)
9.) AeroPress
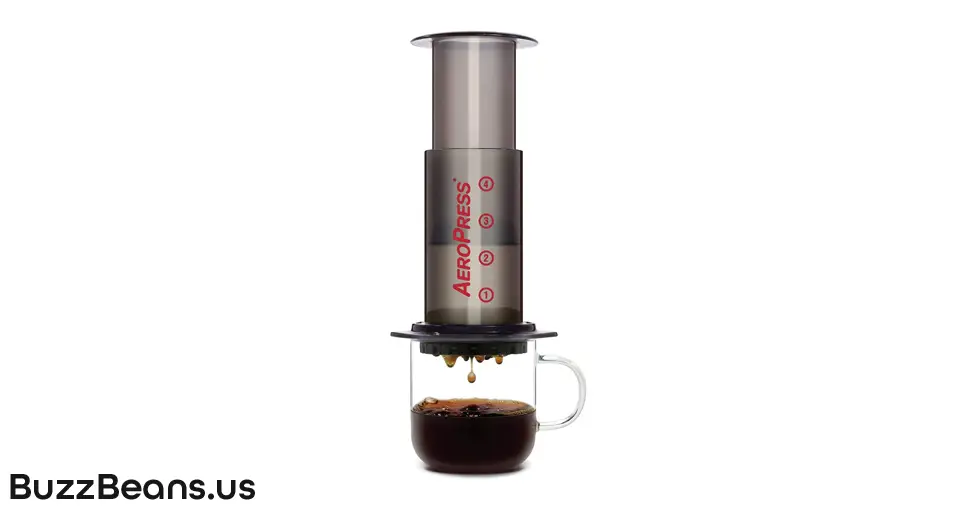
If you love yourself a good ol’ AeroPress, why not toss it in your backpack and go wander around the woods with it? There’s nothing particularly complicated about these gadgets, so they’re a logical choice for camping.
A few things to consider when deciding whether to pack your AeroPress are filters and the cleanup process. Naturally, you’ll need to pack a few filters, which you’ll need to dispose of responsibly. Furthermore, AeroPresses require a more involved cleaning process than some of the other methods we’ve discussed.
Aside from those two factors, this is a strong choice if you already know that you love your AeroPress and if you need a creative solution to get your coffee fix on the go.
You can land yourself an AeroPress on Amazon for $39.95.
Pros
- Lightweight and easy to pack
- Familiar process
Cons
- Requires filters
- Clean-up can be a slight hassle
10.) Cowboy Coffee
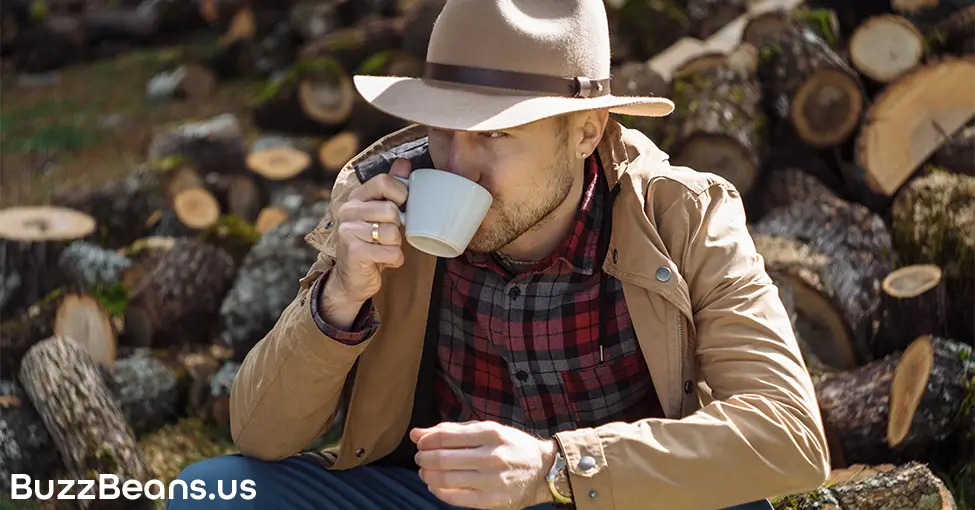
Our final method is the oldest and most classic method to make coffee when camping. The so-called “cowboy coffee” is beyond reliable and as simple as it gets to make. While this method may not make the best coffee, the pure ruggedness of the process more than compensates.
All you do is boil some water and add your coffee grounds. Give the mixture a few stirs and let it boil for a couple of minutes. When your coffee is fully extracted, carefully pour it into your mug. If you’re feeling extra tough, just go ahead and sip the coffee slowly. Make sure you use your teeth to filter some of the coffee grounds, which you can then spit to the side.
If you’re not down to filter the grounds with your teeth, you can let the grounds float to the surface and skim them off as best you can. You likely will not get them all, but that’s 100% okay – you are roughing it after all.
If you’re seriously channeling your Oregon Trail and/or Wild West spirit, some diehards recommend bringing the coffee to a boil and cracking an egg into it all. This egg will quickly cook and bring pull all the coffee grounds together. This makes it far easier to avoid drinking any of the pesky grounds.
Aside from your inner John Wayne, the only equipment needed for cowboy coffee is a kettle.
Pros
- No fancy equipment
- Quick and easy
Cons
- Not as tasty
- You’ll end up sipping a few grounds no matter what you do to remove them
What About Instant Coffee?
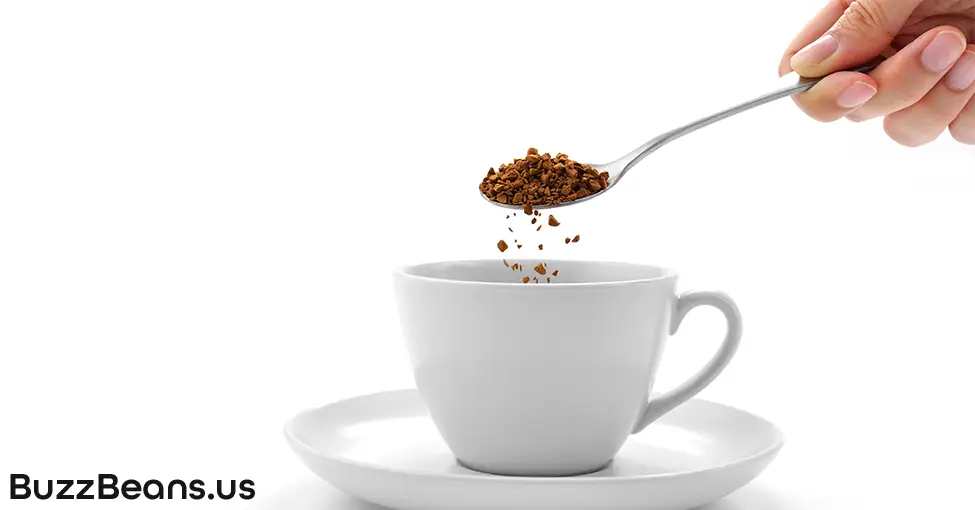
The 10 methods we just covered to make coffee when camping are all fun options, you’ll find that each is difficult to execute when sleeping in a tent. Naturally, the easiest option to make while still waking up and in the middle of the woods is classic instant coffee. However, you need to ask yourself – is this actually a great option at your camp?
Instant coffee is without question the easiest option and a surefire way to get some perk in your step when you start hiking. Furthermore, instant coffee has improved exponentially in recent years. Furthermore, it’s easy to find instant coffee options that pack in bold flavor and a hearty jolt of caffeine to get your blood flowing.
Again, the 10 methods that we discussed above are all great options for those who enjoy the morning ritual of brewing coffee. However, instant coffee is most definitely a viable option and worthy of your consideration.
You can land a box of 100 packets of Starbucks Blonde Roast (Veranda Blend) on Amazon for $23.74.
Pros
- Extremely easy
- Minimal clean-up
Cons
- Can get expensive
- Sub-par coffee (at best)
Why Convenience Matters When Making Coffee When Camping
Convenience is of the utmost importance when deciding which method to use while camping. Naturally, we all love coffee and would go to great lengths to get the perfect cup each morning. However, on the second day of carrying your coffee equipment along the trails and by the second morning of struggling to deal with it in a less-than-familiar environment, you’ll likely wish that you had gone with the most convenient option.
Consider more than the actual brewing process. Convenience extends to everything from packing and how your equipment fits into your limited space, to what other pieces you’ll need (e.g. heat source to boil water and filters), and what kind of cleanup is required. In a typical, unpredictable camp environment, all these small things we take for granted become far more prominent, so think long and hard about them.
Closing Thoughts
W hope that you found this list of the best ways to make coffee when camping helpful. Rest easy knowing that no matter what option you go with, you’ll have caffeine pumping through your veins and you’ll get to soak up all that Mother Nature has to offer.